Foundry V3 Installation
https://s3-us-west-2.amazonaws.com/thinglogix-foundry-demos/ThingLogix+-+AWS+Account+Set-Up.mp4
Template URL:
Current Available Environments:
develop
Current ParentAPI Endpoint:
https://o8787r1zr7.execute-api.us-west-2.amazonaws.com/v2develop
Foundry V2 Installation
Create an Admin user and new Foundry Account.
- Register for a new Foundry account at https://register.thinglogix.com/spring/selfSignup
Install the Cloud Formation Template in the client AWS Instance (the client will need to have provided an IAM user with Admin rights)
- Navigate to the AWS Console (aws.amazon.com) and make you are in the correct region you'd like Foundry installed in. IMPORTANT NOTE: Due to missing AWS services in certain regions currently the only supported regions are; Oregon, North Virginia, Frankfurt, and Ireland.
- Create an S3 Bucket called "[company name]-thinglogix"
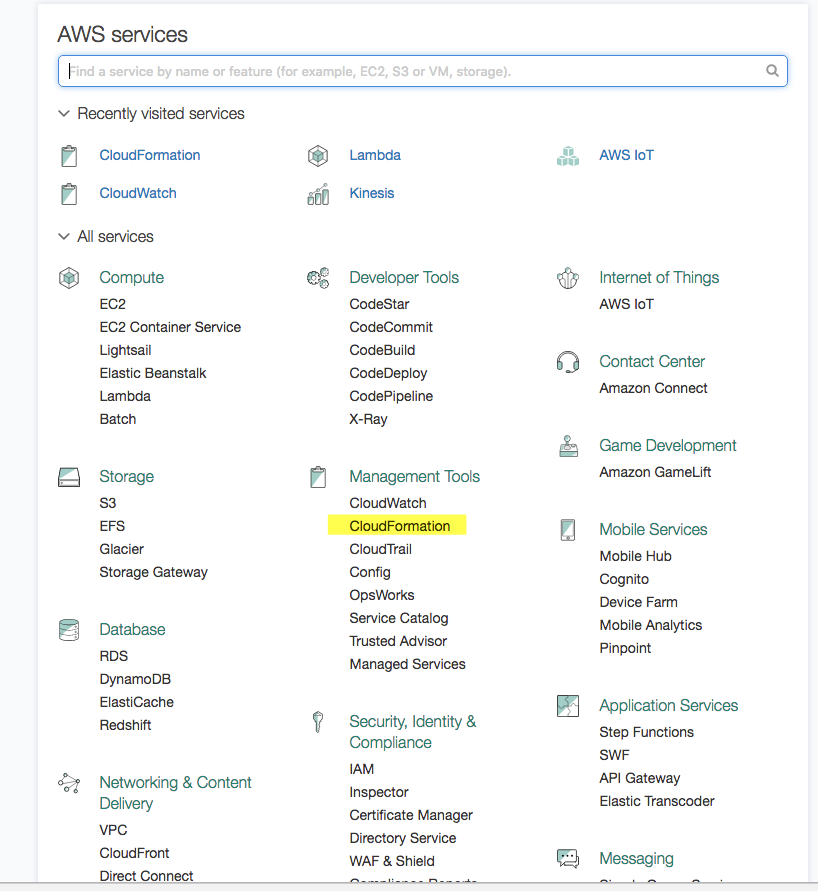
- Click the "CloudFormation" link"
- Click "Create Stack"
- Select "Specify an Amazon S3 template URL" and copy on of the following links:
Foundry V2:
Production - https://s3-us-west-2.amazonaws.com/thinglogix-foundry-files/CloudFormationTemplates/prod.json
Foundry V3 (Release Date in October 2018)
- Fill the following parameters

Stack name:
- We recommend using "ThingLogix<TemplateName>" as the stack name. Ex. ThingLogixStage, ThingLogixDev, ThingLogixProd.
Email Customization:
These parameters are used to customize what users will see when using your instance of Foundry.
- From: The email and name used for the automated messages sent by Foundry for activating users and resetting passwords.
- ActivationSubject: Subject of the email sent to users to activate their Foundry user.
- ResetSubject: Subject of the email sent to users to reset their password.
Schedule Template:
This will install the scheduled action framework in Foundry. Unless otherwise instructed set this to TRUE.
- InstallScheduleTemplate: Select TRUE if you want to install Scheduled actions.
- ShardCountParameter: Usually one shard is all you need. One shard can support a maximum total data read rate of 2 MB per second and a maximum total data write rate of 1 MB per second. You can always increase later if needed.
InstallRDSTemplate:
This installs small RDS administrative tables. Unless otherwise instructed set this to TRUE.
AllowUnauthenticatedIdentities:
Select TRUE if you want to support unauthenticated logins to your Foundry instance. (Not Recommended). Unless otherwise instructed set this to FALSE.
DeveloperProviderName:
This is Cognito Provider Name, while you can use any string, we recommend "com.thinglogix"
IdentyPoolName:
This is the Cognito ID Pool Name, while you can use any string we recommend "foundry"
isRoot:
Unless otherwise instructed set this to FALSE.
ParentAccountID:
The string of your Foundry account Id you just created. It should be in the format of ########-####-####-####-###########. Your Id can be found by logging into Foundry and selecting the "preferences" menu (by default it's under the "Setup" menu or you can access it be using the URL https://[ENV].thinglogix.com/#!/preferences where ENV is either dev, stage, or prod).

ReadCapacityUnits:
Read capacity unit for DyanmoDB tables. One unit gives you 4KB one strongly consistent read per second, or two eventually consistent reads per second. You can always change this later. Initial installation should be 5.
S3BucketName:
The Foundry Installer uses this for storing your files you upload in Foundry. We recommend using the S3 bucket named "[company name]-thinglogix" that you created earlier and use that for the S3BucketName field.
ShardCountInKinesis:
The number of shards used in Kinesis streams. Refer to the parameter ShardCountParameter in Schedule Template section for more information on what Shards are for, we recommend starting with 1.
WriteCapacityUnits:
Write capacity unit for DyanmoDB tables. One unit gives you one write per second for an item up to 1 KB in size. You can always change this later. Initial installation should be 5.

- When complete the status will be set to "CREATE_COMPLETE"

At this point all of the Base Foundry resources will have been installed
Connecting Foundry to the AWS Instance
You can now point your Foundry Account to your AWS Instance of Foundry.
- Login to Foundry using the username and password created above
- navigate to the "/credentials" page ( you may need to add it using "/pageManager")
- you'll want to create credentials for the Entire Account.
- You'll copy the values from the "Output" tab of the CloudFormation screen to foundry


The following AWS services are provisioned when you launch the cloud formation template and the associated costs will be billed to the customer directly by AWS;
- IoT
- Kinesis
- Lambda
- Dynamo
- API Gateway
- Cognito
- S3
- CloudWatch
- IAM
optional services include;
- Machine Learning
- SNS
- Rekognition
- Alexa
- Athena